If you’re confused about how to edit the footer in WordPress then you can follow these steps. The Footer area appears on the bottom of every website.
You can utilize footer space in many ways and make it more useful for visitors. You can add links to your Pages, Policies, Social Media icons, email opt-ins or small text from your about page. But it depends on your site topic or profession.
What is Footer in WordPress?
A footer is the bottom part of the site that appears after the main content area. It’s available on every page but you can also disable it. It gives you the special opportunity to increase visitors’ time and you can add anything here, so you can complete your goal.
Instead of leaving this empty, you should add your posts, pages, logo, and punchline. But remember don’t add anything waste here because it shows on every page.

Edit Footer in WordPress
Adding Widget in Footer
You can add text, images, links and anything which is available in your theme. First, you should set widget columns. There is an option of increasing or decreasing the column in the footer.
Go to Appearance >> Customizing >> Footer Widget
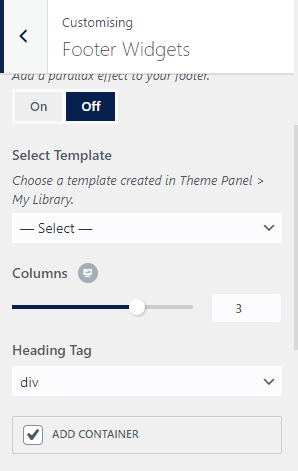
Here you can increase or decrease the column number. You can also hide the footer widgets from here.
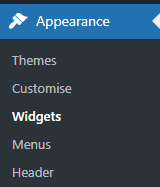
In 2 ways you can add and edit it. The first is go to appearance > widget
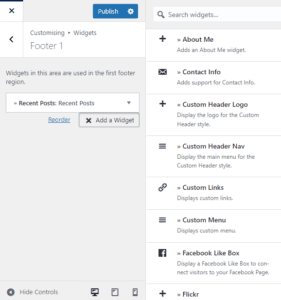
then click on the “plus” and add a block in your footer 1,2,3. After clicking on the plus icon you can check all options and insert any option in the footer sections.
The second method is to go to appearance > customize > widgets
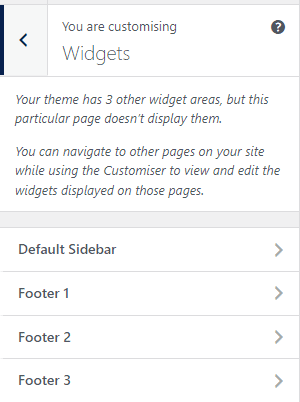
Here you can add widgets in the footer or sidebar
You can choose any widgets, you want to add.
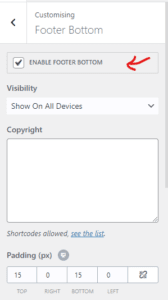
Edit Footer Bottom
Some themes didn’t give these options, but some themes have these options.
You can disable the footer bottom and add some text or colours from here.
You can also add links to different pages, posts, categories etc in the footer bottom area with the help of the menu.
Simply go to appearance >> menus, and create a new menu structure for the footer like the main menu. But add different links from the main menu.
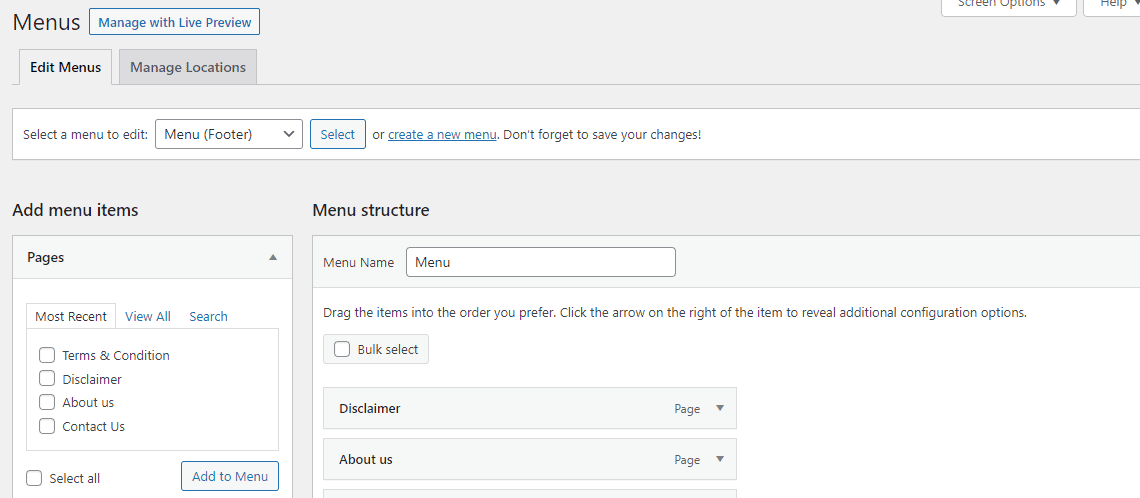
Here you can make your new links if you don’t have one.
Click on “create a new menu” and give a new name to identify that particular menu and click on the footer menu.
After creating a Menu, you can add links to your menu. Simply select pages, posts, categories from the left side column to add them to your menu. Once it has been done, save the menu. Now your footer navigation menu is ready. Check Menu on appearance. (Don’t forget to add it to the footer menu)
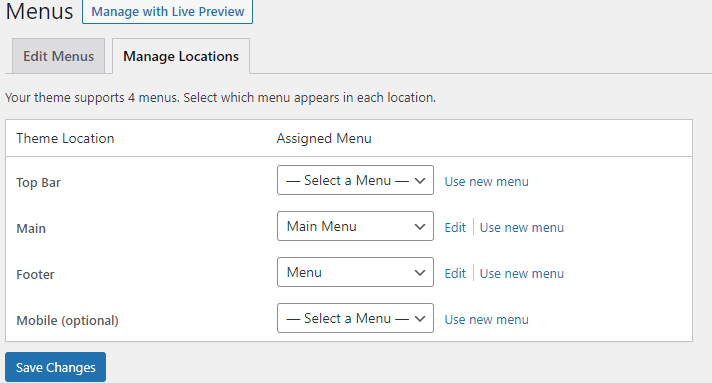
You can select a menu from the ‘Manage Location‘ tab. If you need more help then you can contact Hanubo.
Share on: